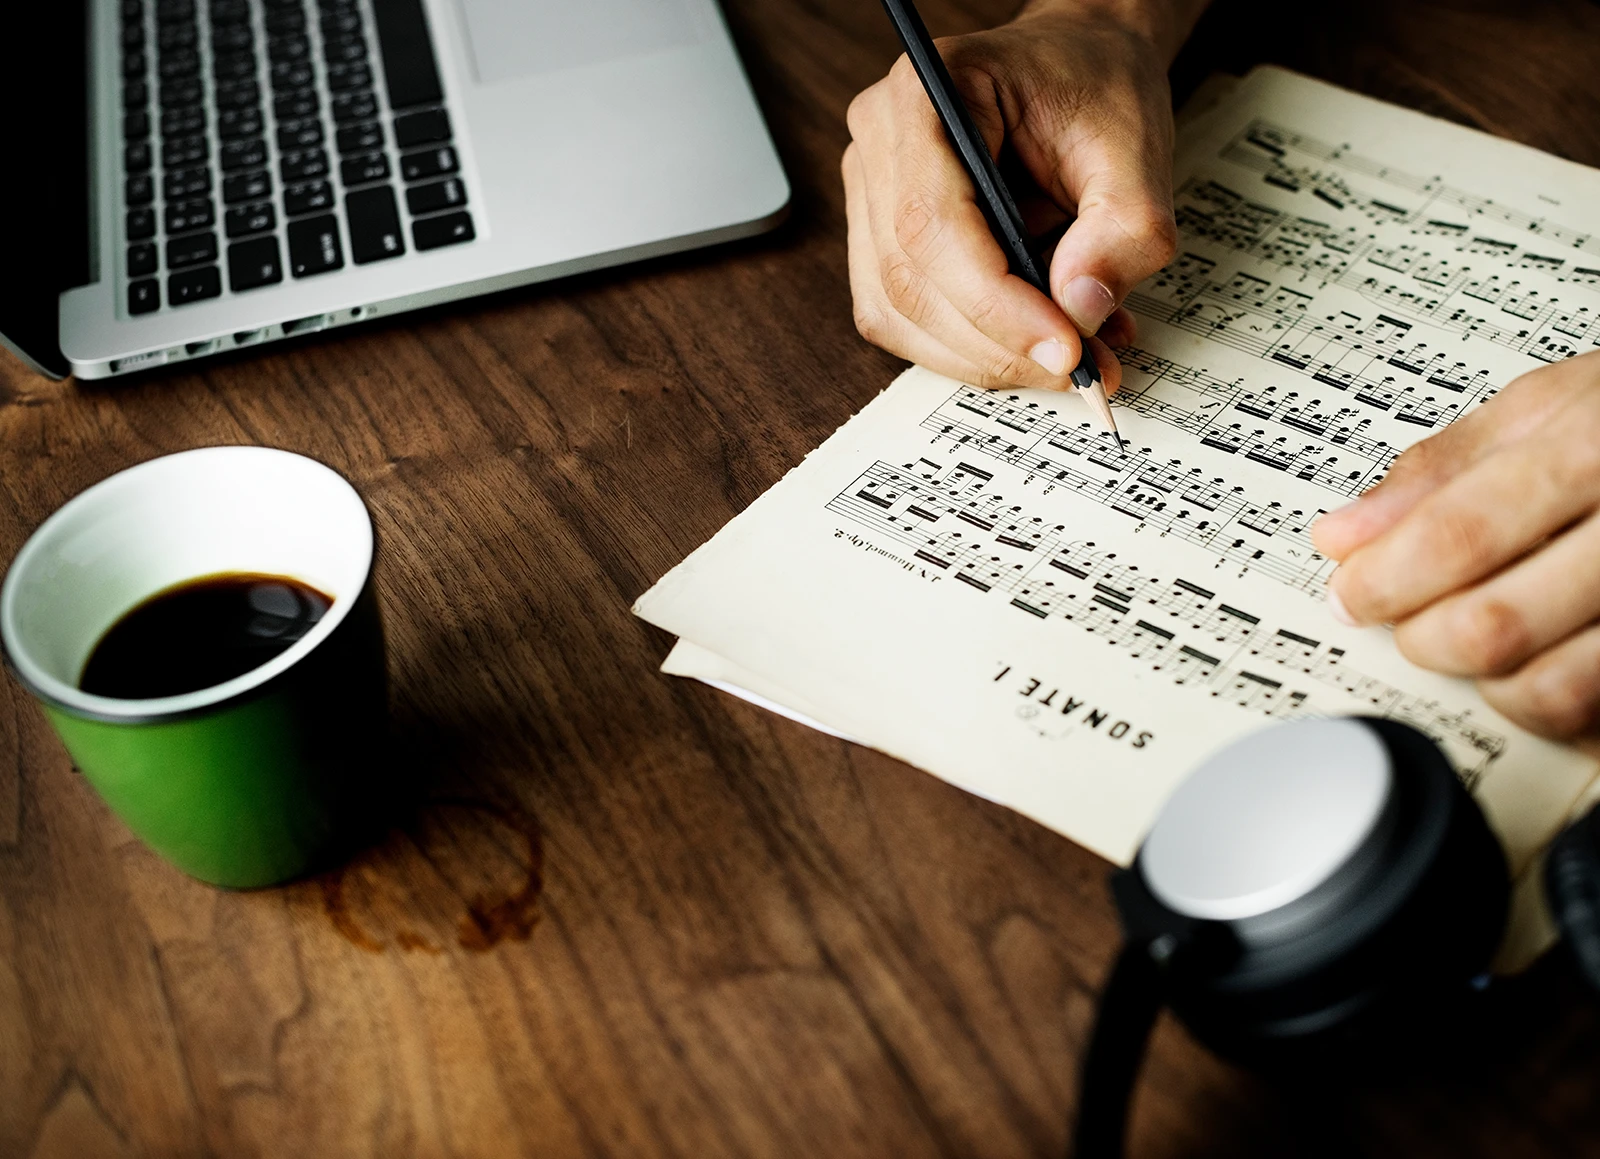
Greetings gentle readers! As I write this article in mid-August, I am excitedly anticipating the beginning of a new school year. I have a hot pot of coffee beside me, a pile of scores in front of me, some freshly sharpened colored pencils, and file of updated syllabi. Let’s go! I must confess that August is one of my favorite months of summer vacation: the temperatures start to drop, I see my dear colleagues more and more at the office, and I am reunited with the excitement and privilege it is to be a music teacher.
I have also found that August, at least for me, is a time to think about how I can be a better teacher for my students. Since my teaching duties include ensemble conducting, and teaching beginning conductors, I often reflect upon this art, which Frank Zappa called “…drawing ‘designs’ in the nowhere with a stick, or with your hands-which are interpreted as ‘instructional messages’ by guys wearing bow ties who wish they were fishing.” I usually conduct my last downbeat in late April, and don’t have another one until the last week of August. Those almost four months of time in between provide the perfect backdrop for introspection, analysis, and refinement.
Building the physical skills needed as conductors is a pursuit that all of us take part in throughout our professional lives. Regardless of the medium (band, choir, orchestra, etc.), there are several topics of discussion that all conductor/teachers can use to realize their role as a communicator and translator of the music that we are presenting to our students. By using the acronym “C.O.N.D.U.C.T”, many of these fundamental skills and concepts can be discussed in a sequential format.
The following discussion describes several concepts and kinesthetic skills that I personally use and included in my teaching. They are based on the good fortune of having fantastic teachers (Jack Stamp and Eugene Corporon), fantastic written resources (Elizabeth Green and Michael Haithcock), and my own observations from countless rehearsals (including H. Robert Reynolds, Craig Kirchoff, and many more.
*Disclaimer! This is not the only way to teach concepts and physical skills used in conducting, and it is not meant to criticize others that have a different approach. It is simply an amalgam of information gleaned from teachers, colleagues, and dear friends.
C – Choosing a Baton
One of the most important factors when choosing a baton is selecting one that fits the geometry of your body. The easiest way to do this is to place your right elbow against the side of your torso, and extend your forearm, placing it parallel with the floor with your hand outstretched and your palm up. Place the bottom of the handle in the crook of your elbow. The tip of the baton should at least reach the first joint of your middle finger (right above your knuckles – Example 1) and can extend up to the next joint of your middle finger (right below the tip – Example 2). Since I mostly conduct large ensembles, I like to have a slightly longer baton, so I shoot for the tip of the baton to touch that top joint. For those that conduct smaller ensembles, you may prefer a slightly shorter baton, so you can aim for something closer to that first joint.
There are as many different handle designs as there are conductors, so I will avoid that subject! However, I will say something about the material comprising the stick. Wood, fiberglass, and graphite/carbon fiber are the dominant materials by and large. I usually recommend fiberglass to students due to its weight/resistance, the price, and durability. I do have some batons made of wood that I like, but they can be very fragile and susceptible to humidity changes. Graphite and carbon fiber are great materials, and have much less “give” when making weighted gestures. They are also very light, which requires a subtle change in body mechanics when conducting gestures that are linear/resistant in nature.
Finally, a good baton should be balanced. Almost all professional baton makers make this a regular part of their designs (Example 1). Most batons have a balance point between the end of handle and the beginning of the stick. However, some conductors like to have this balance point moved on either side of this locations.
O – One Grip with Multiple Possibilities/Functions
Admittedly, this is topic that could easily ruffle some feathers, thus the disclaimer above! To say that there is one “correct” baton grip would be inaccurate, and eliminate the almost infinite number of possibilities that a baton can be used. All of that being said, what I will describe below is the “default” grip that I use and that I teach to my students. Many thanks to Jack Stamp who imparted these ideas to me over 30 years ago!
Take your baton, and find the widest part of the handle which is usually at the bottom. Wrap your third finger around that widest part so that the bottom of the handle is even with the bottom edge of your finger (Example 3). Next, wrap your thumb and index fingers around the handle. If you flip your thumb towards the ceiling, it should look like the stick is growing out of your thumbnail (Example 4). If it is possible to have your thumb and index finger touch, please do so. If not, they should be as close together as possible (Example 5). To complete the grip, curl your ring finger and pinky towards your palm (Example 6).
The two main contact points that will move the baton in your hand are the thumb and the top joint of your index finger. The third finger acts a socket for the baton to move, but does not move independently. To practice this, place the baton in your hand, and then place your hand on a flat surface (Example 7). Using your thumb and first finger alone, see if you can move the stick keeping your hand flat and not flexing your wrist. By synching the motion of your wrist and thumb/index finger, it opens up many stylistic possibilities as well as making efficient use of your body.
N – All Beats are DowNbeats
This quote is attributed to John Paynter, legendary Director of Bands at Northwestern University from 1953-1996. Implicit in this statement is that we can create predictability in our gestures by providing a visual reference point from which our gestures originate. This is most often accomplished by establishing a horizontal plane in front our torso with our hands and baton. This plane does not always have to remain in the same place throughout the duration of a work, but we need to demonstrate to the players where our default position in space is since we will return to it more often than not. Sometimes called the “Ready” position, establishing this position in space will be a large partner in your success as a conductor.
There are many ways to establish this table plane, each using the specific geometric designs of our bodies. One of my teachers, Eugene Corporon, advocated the ratio of 1/3 and 2/3, meaning that if you look at the total height of a particular person, measure approximately 2/3 up from the bottom or 1/3 down from the top.
Another method I have seen is to place your right arm beside your torso with your palm facing away from you. Bring your left arm across your torso and place the left edge of your left hand in the crook of your elbow (your palm will be touching your bicep). Keeping your left hand and arm in place, bring your right arm up bending at the elbow until your arm is parallel with the floor (your right palm is facing the ceiling). Flip your right palm over (palm down) and then reach toward the opposite wall with your right hand so that your elbow is just in front of your torso. Match your left hand and arm with your right and arm – that’s it! [Example 8]
Regardless how you find your particular plane, here are a few hints and tips that will enable you to move efficiently, and keep you away from shoulder rehab in your late 40’s!!!
- When looking in a mirror, you should be able to see some daylight between the inside if your arms and your torso. This greatly adds clarity to your gestures. One way you can check this is to see if you can draw almost a straight line from the inside of your thumb the outside of your arm right beneath your shoulder.
- Perhaps the main cause of conductors having shoulder issues is that their default plane is too high, placing a lot of stress on their back and shoulder muscles. I was guilty of this! I was spared rotator cuff surgery, but spent several months rehabbing my right shoulder. In addition to keeping your plane on the lower side (which is a byproduct of the methods above) I believe that all conductors should use a podium, particularly if the ensemble is on the bigger side. Using a podium enables you to keep your default plane lower, thus taking the stress off of your back and shoulder. Teaching and conducting are physically demanding tasks, so use every opportunity to preserve your health.
- When setting your particular conducting plane, and in the act of conducting, take care not to fully extend your arms and “lock” your elbows. Availability of gesture and flexibility of movement can be restricted when this happens. The same is true of locking your knees or many of the other hinges and sockets we use when we conduct.
Now that your individual plane is set, you will find that we initiate movement and gesture almost exclusively with a downbeat. This is particularly true when we are entering into sound from silence. The combination of this downbeat and horizontal plane provide clarity and predictability to the ensemble, enabling the conductor to have maximum creativity with simplicity of communication.
Stay tuned for Part Two!


